


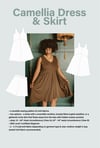


Camellia Dress & Skirt Sewing Pattern
This is a digital PDF sewing pattern.
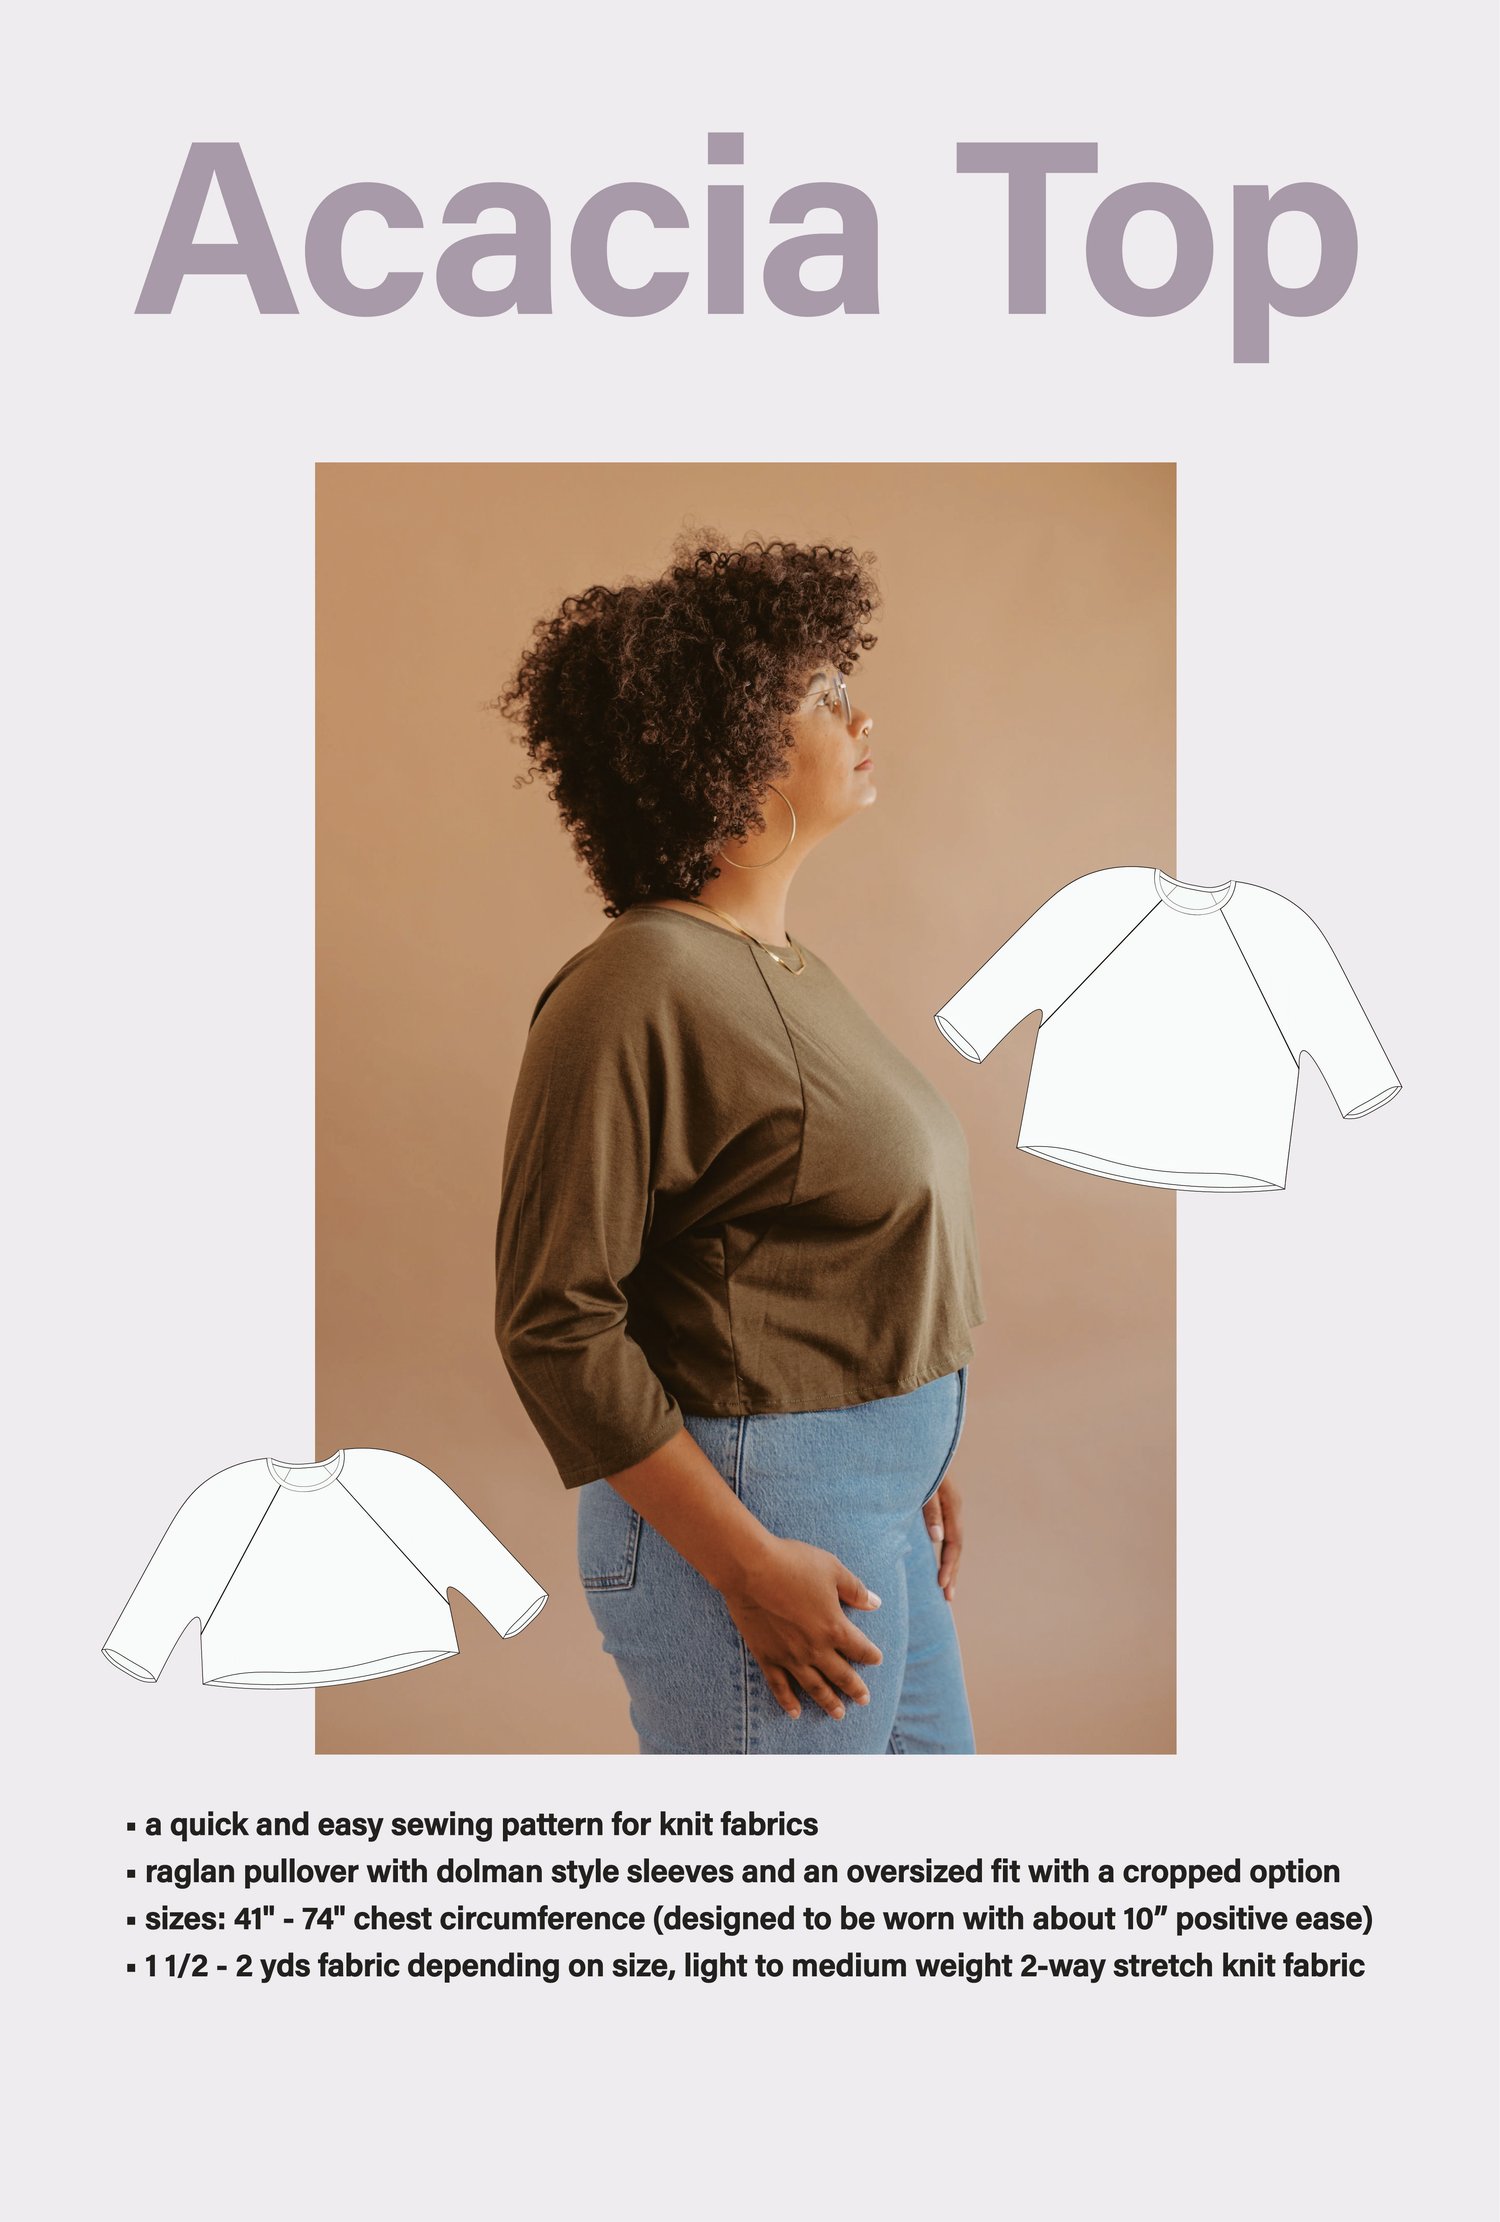
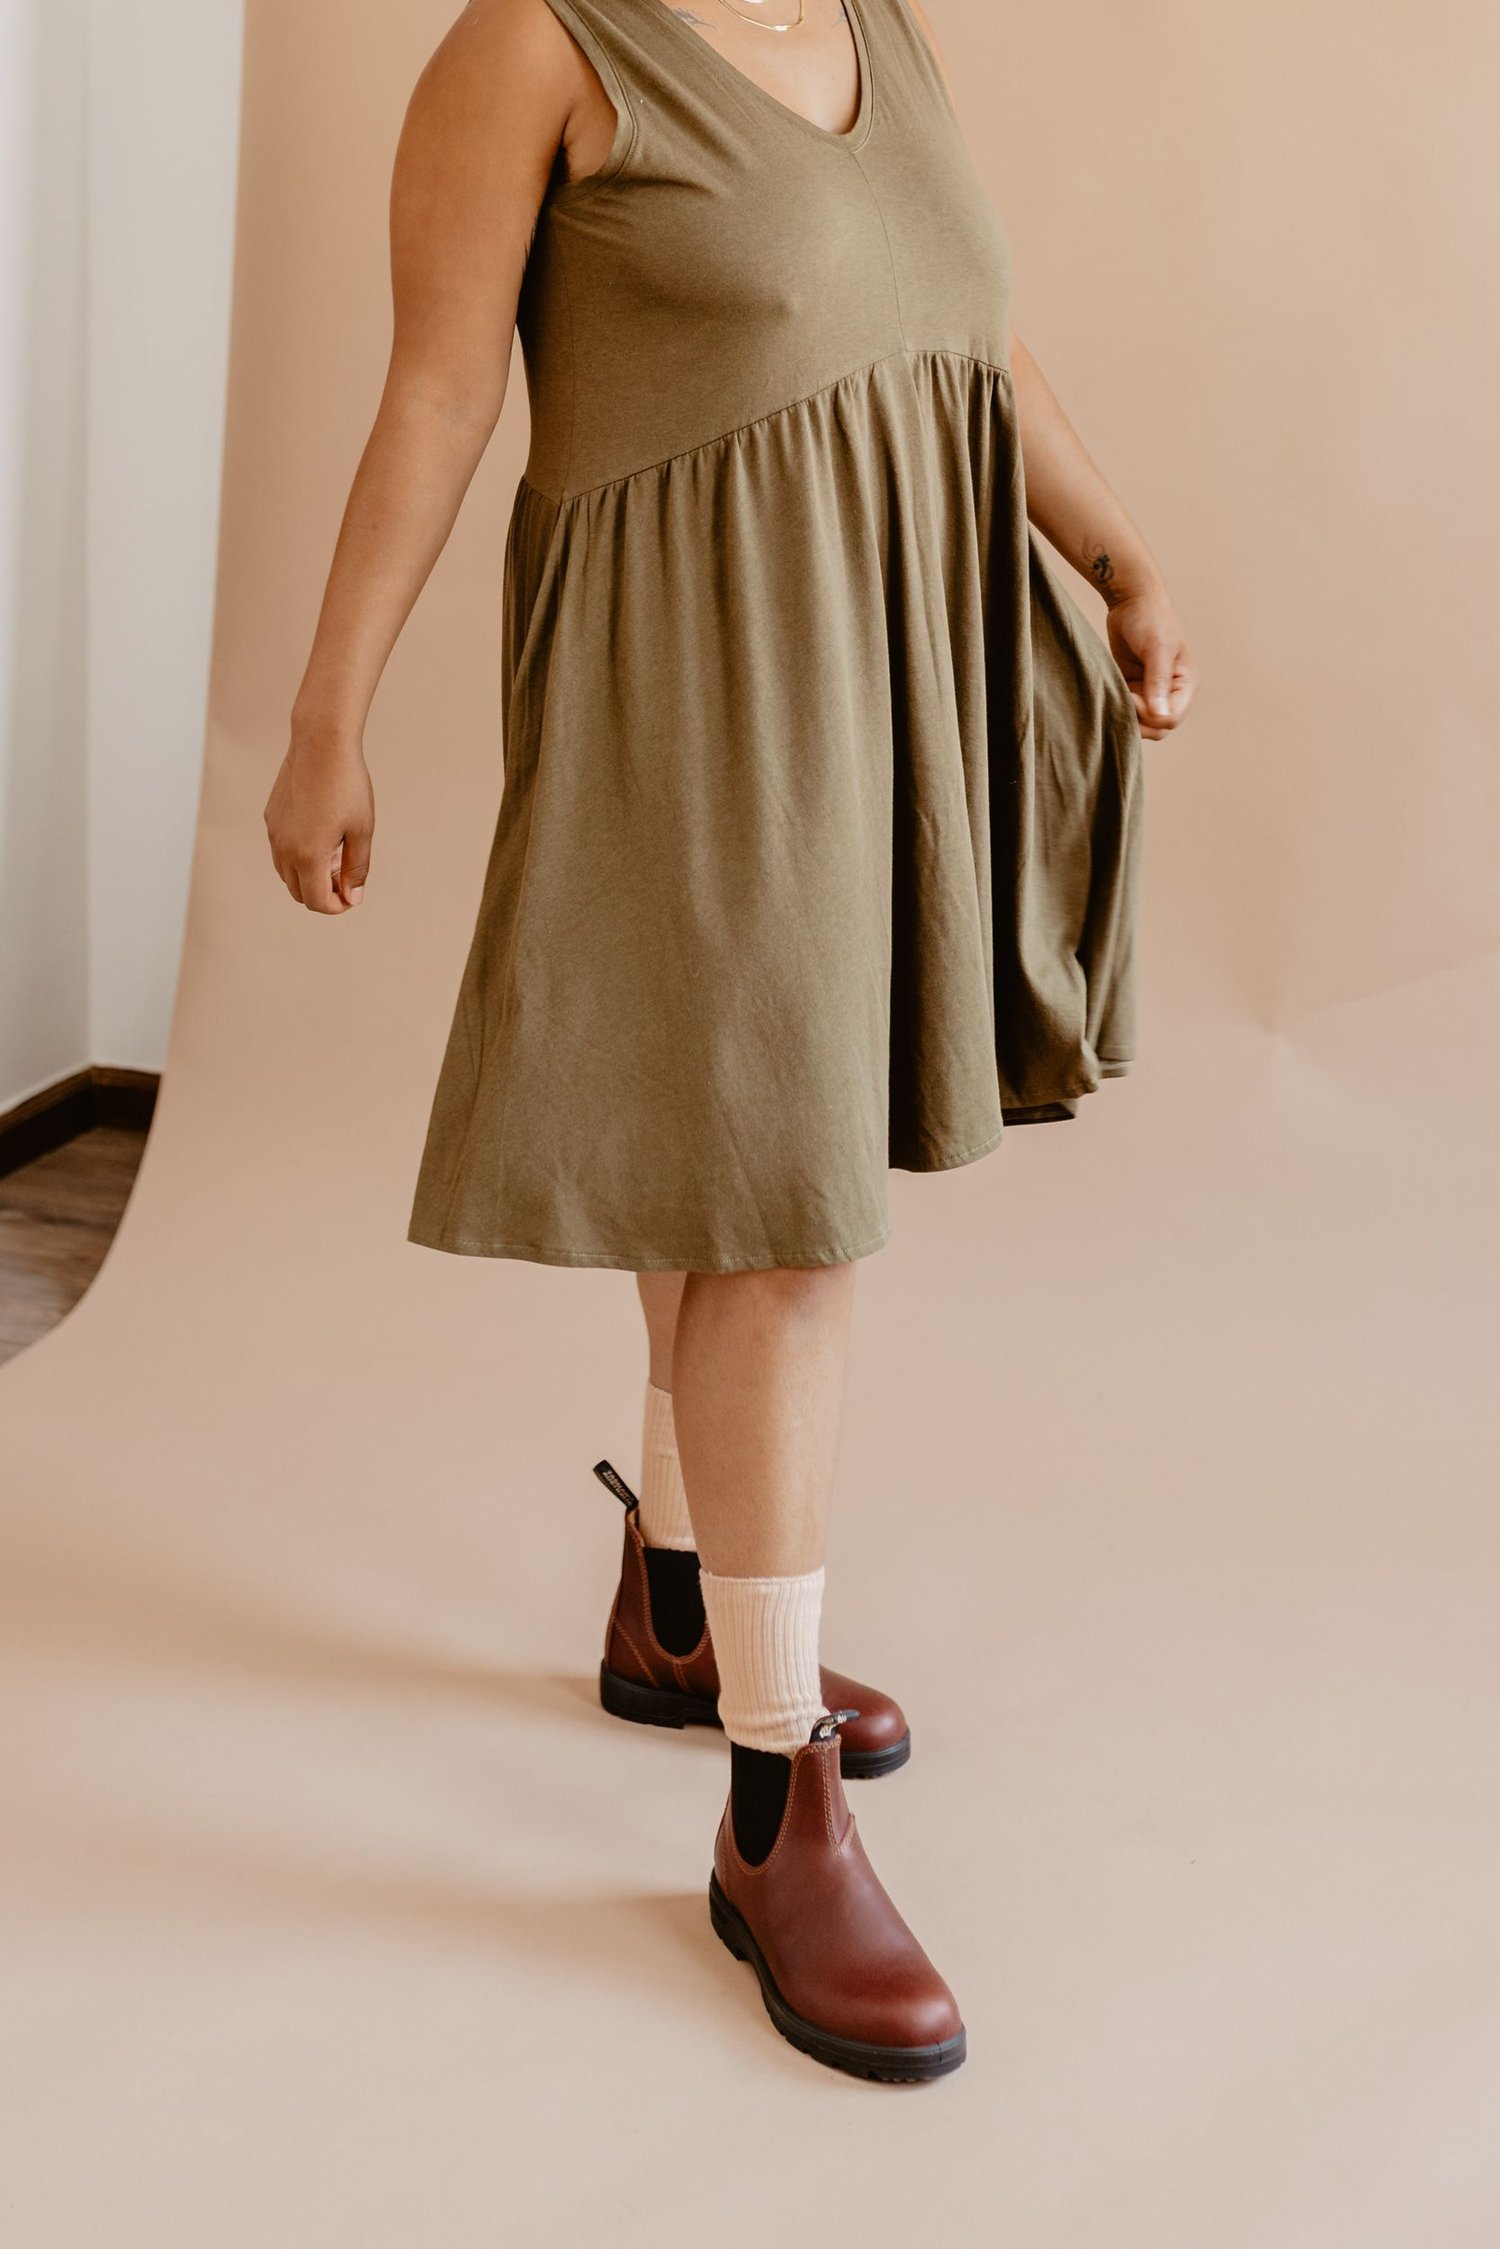
The Camellia Dress (View A) is a versatile pull-on style sleeveless A-line dress. Choose between wearing the V-neck in front and the scoop neck in back, or flip it around to wear the scoop neck in front and the V-neck in back. This dress is loosely fitted around the angled waistline. It has a gathered circle skirt that floats away from the hips and features hidden inseam pockets. Instructions include the option to make your own custom bust darts if desired. This dress looks great layered under a cropped Acacia Top. The Camellia Skirt (View B) is a gathered circle skirt with a fitted elasticized waistband, and hidden inseam pockets.
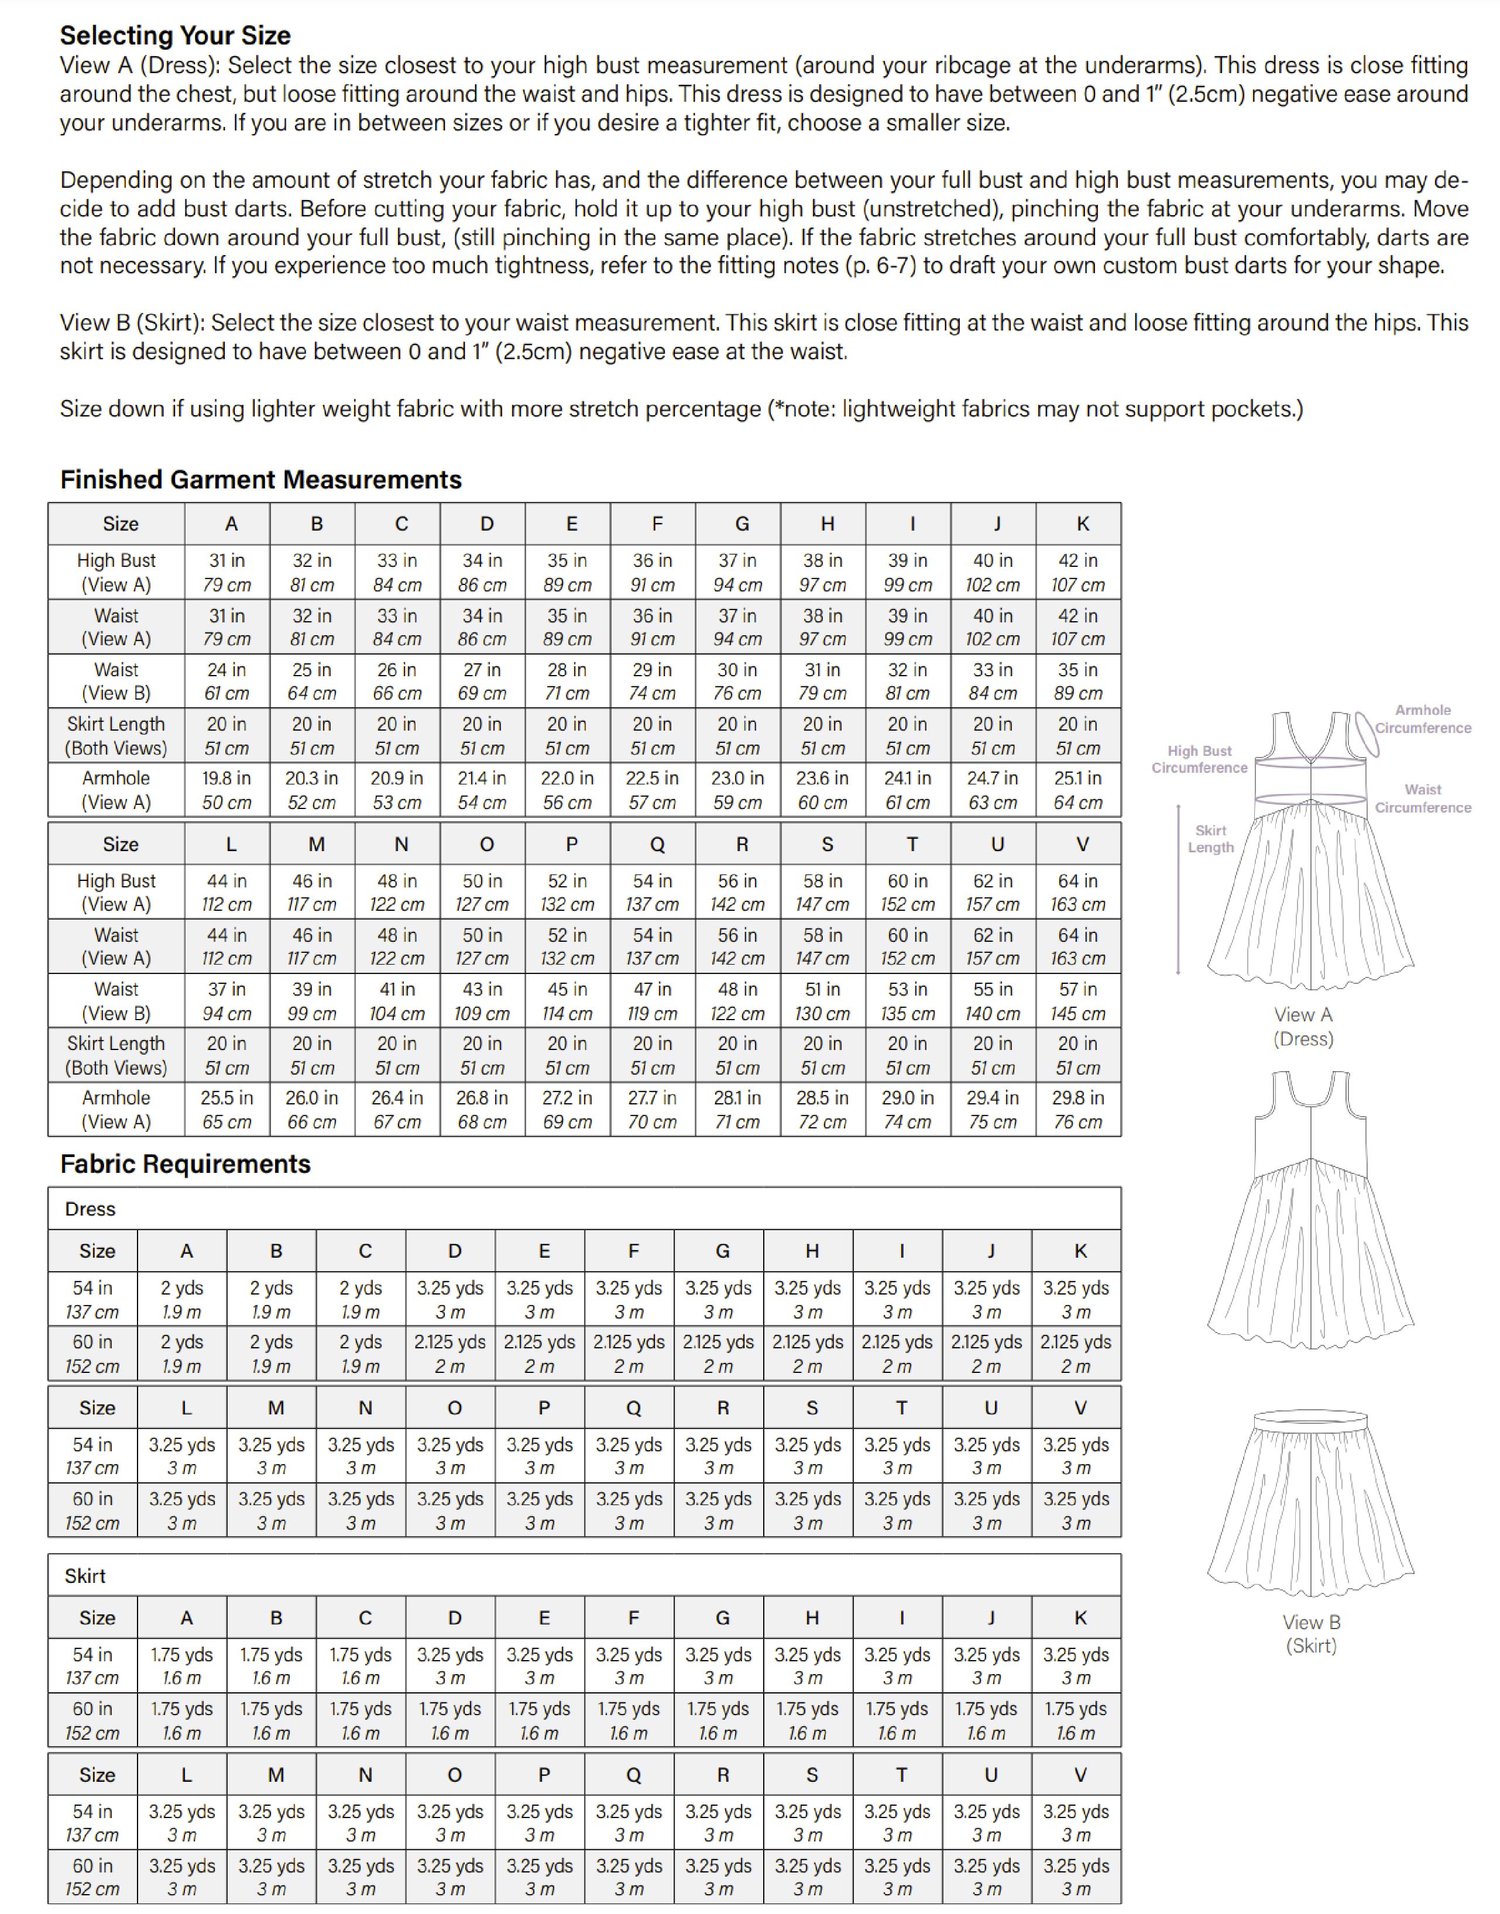
Sizes: 31 - 64" chest circumference (View A); 24" - 54" waist circumference (View B)
Skill Level: Confident Beginner
Suggested Fabric: Light to medium weight 2-way stretch knit fabric (with at least 20% stretch) and a fluid drape, such as cotton modal jersey.
Notions & Supplies: • Thread - matching fabric & contrast thread for gathering and basting • Chalk pencil or fabric marker for marking • Tape Measure • Scissors • Straight pins • Ballpoint needle • Iron & ironing board for pressing • Sewing machine with zigzag stitch • View B (Skirt) only: 2 inch (5 cm) woven non-roll elastic - a piece long enough to fit around your waist & a safety pin
Getting Started
In addition to the fully illustrated instructions, there are three PDF pattern files for you to choose from:
1) Letter Size file formatted for printing at home (US Letter Size - 8.5 x 11 inches / 215.9 x 279.4 mm)
2) A0 file formatted for printing at a copy shop (A0 - 33.1 x 46.8 inches / 841 x 1189 mm)
3) Projector file formatted to be used with a projector
Using the Layers Feature
Each size is separated into its own layer. This way you can print (or project) only what you need.
1) Open Adobe Acrobat Reader. 2) Select the Layers Panel. 3) Click on the eye icon to unselect a layer. Click it again to display it. Click to unselect all layers that are not your size if you wish to hide them. 4) The “Info” layer should always be selected - this layer includes labels for each pattern piece.
Printing your pattern
• Set the print scale to 100%, and make sure “scale to fit” is not selected. • Print the first page. Measure the test square to make sure the scale is correct before printing the remaining pages. • If the borders are getting cut off when printing the letter size files, try selecting the “auto portrait/landscape” orientation print option.
Assembling your pattern (if printing at home):
• Each pattern piece page will have a letter & number in the bottom right corner. • Once all pages have been printed, arrange them into rows by letter, and columns by number. The first row should include pages A1, A2, etc. and the second row should include pages B1, B2, etc. • Either trim or fold along the rectangular borders and tape all of the pieces together so that the pattern piece lines match up. Some prefer to fold/trim along only 2 sides (such as the left side and the bottom edge) and overlap the pages so that the rectangular borders match up, using a glue stick to join them. • I recommend assembling one row at a time (to avoid confusion) and then joining all of the rows together.
Projecting your pattern
• Use the layers feature in Adobe Acrobat (see above) to hide layers. • Make sure the “Background” layer is selected to display • Select either the “10x10 cm Grid” or “4x4 Inch Grid” layer to measure and make sure your scale is correct. You may need to adjust your zoom percentage. The grid layer can be hidden once you’ve measured your scale. • Select your size layer, the “Info” layer, and the “Background” layer. All other layers can be hidden. • Open the View Menu and select “Read Mode”. You can click and drag or use the arrow keys to select which portion of the pattern is projected.